When it comes to packaging, the first thing a customer notices is the header block on a plastic bag. A well‑designed header block not only protects the contents but also serves as a powerful branding tool. In this article we dive deep into the plastic bag header block design process, covering materials, manufacturing methods, design best practices, and real‑world applications. By the end you’ll know how to create header blocks that boost shelf appeal, comply with regulations, and align with your brand identity.
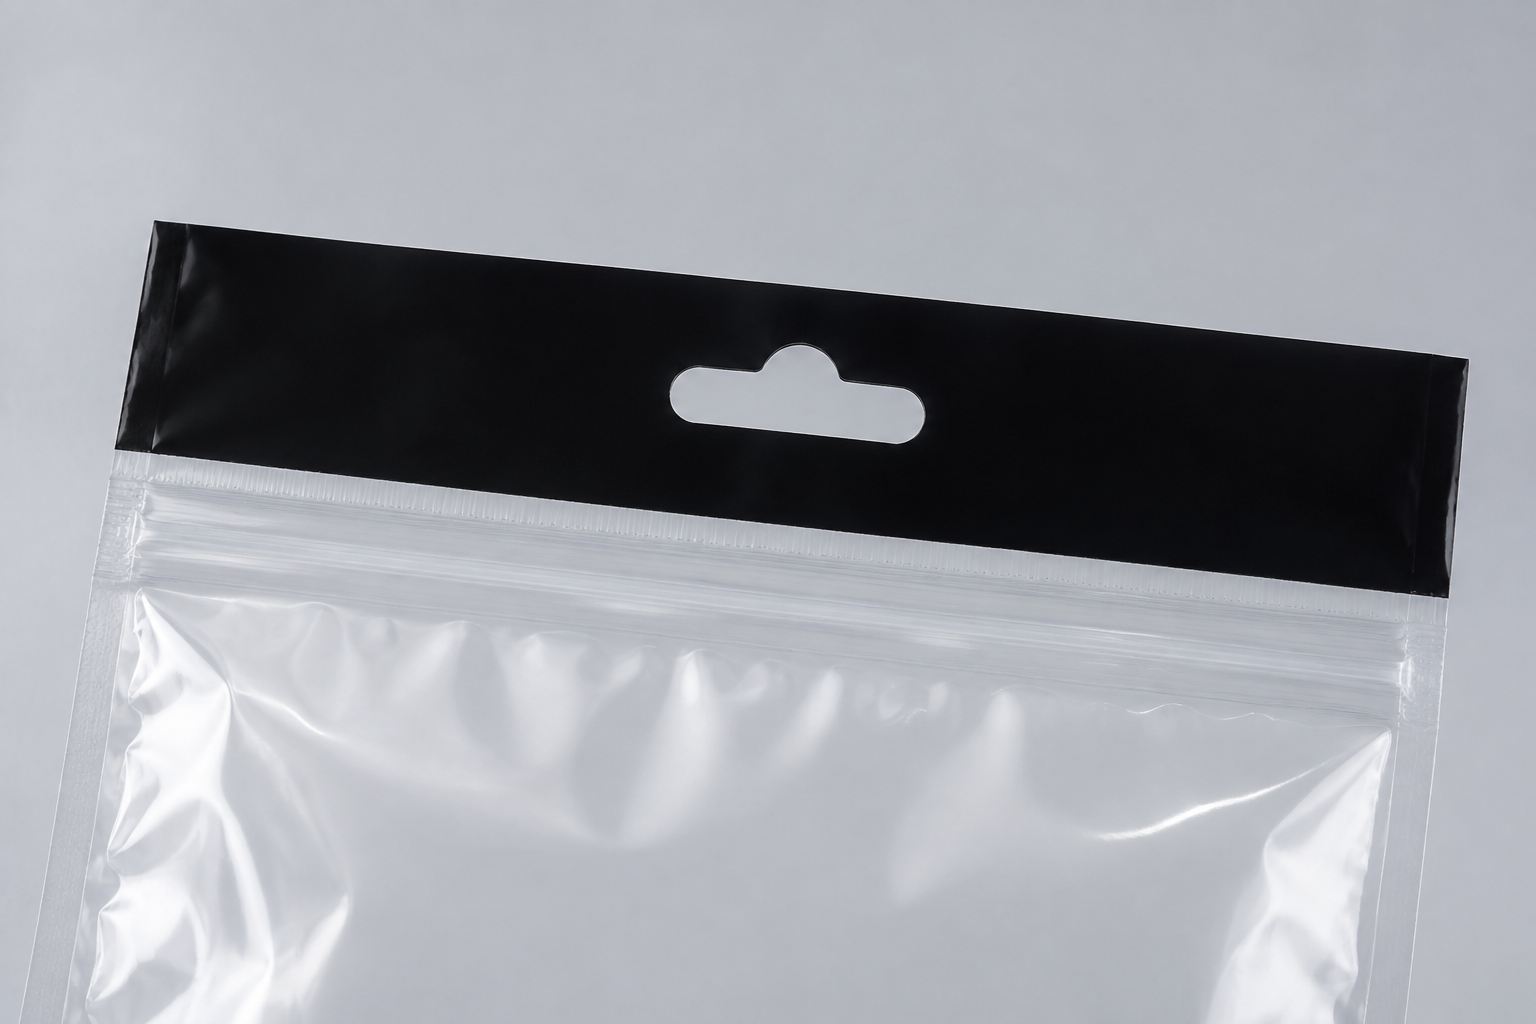
A close‑up of a plastic bag with a distinctive header block design, showing the printed logo and color contrast.
What Is a Plastic Bag Header Block Design?
A header block is a reinforced, often printed area at the top of a plastic bag that adds structural integrity and visual impact. It is typically formed by a die‑cut shape, a hand‑stretched film, or a combination of both. The header block protects the bag’s opening from tearing, enhances the bag’s strength, and offers a canvas for branding, product information, and regulatory labels.
Key Elements of an Effective Header Block
- Material Strength – The header block must be made from a high‑grade polymer that resists puncture and tearing.
- Dimensional Accuracy – Consistent width and height ensure a uniform appearance across all bags.
- Print Compatibility – The surface should support high‑resolution printing or embossing without distortion.
- Seam Integrity – Seams should be reinforced with double stitching or heat sealing for maximum durability.
- Regulatory Compliance – For food or hazardous waste bags, the header must meet industry safety standards.
Materials and Manufacturing Techniques
Choosing the Right Plastic
Common polymers for header blocks include low‑density polyethylene (LDPE), high‑density polyethylene (HDPE), and polypropylene (PP). Each offers distinct benefits:
- LDPE – Flexible, easy to stretch, ideal for food bags.
- HDPE – Stiff, high impact resistance, suited for hazardous waste.
- PP – Good chemical resistance, often used for reusable bags.
Die Cut vs. Hand Stretch Film for Header Blocks
Two primary methods create header blocks:
- Die Cut – A metal die shapes the bag’s top into a precise geometry. It’s fast, cost‑effective for high volumes, and produces crisp edges.
- Hand Stretch Film – A flexible film is stretched over the bag’s opening, forming a smooth, rounded header. This method is ideal for specialty bags where a gentle curve enhances aesthetics.
Design Considerations for Different Use Cases
Food Packaging
- Use LDPE or PP for a food‑grade, BPA‑free header.
- Incorporate a clear or translucent area to showcase the product.
- Print with food‑safe inks that comply with FDA regulations.
Hazardous Waste
- Opt for HDPE with a reinforced header to withstand corrosive contents.
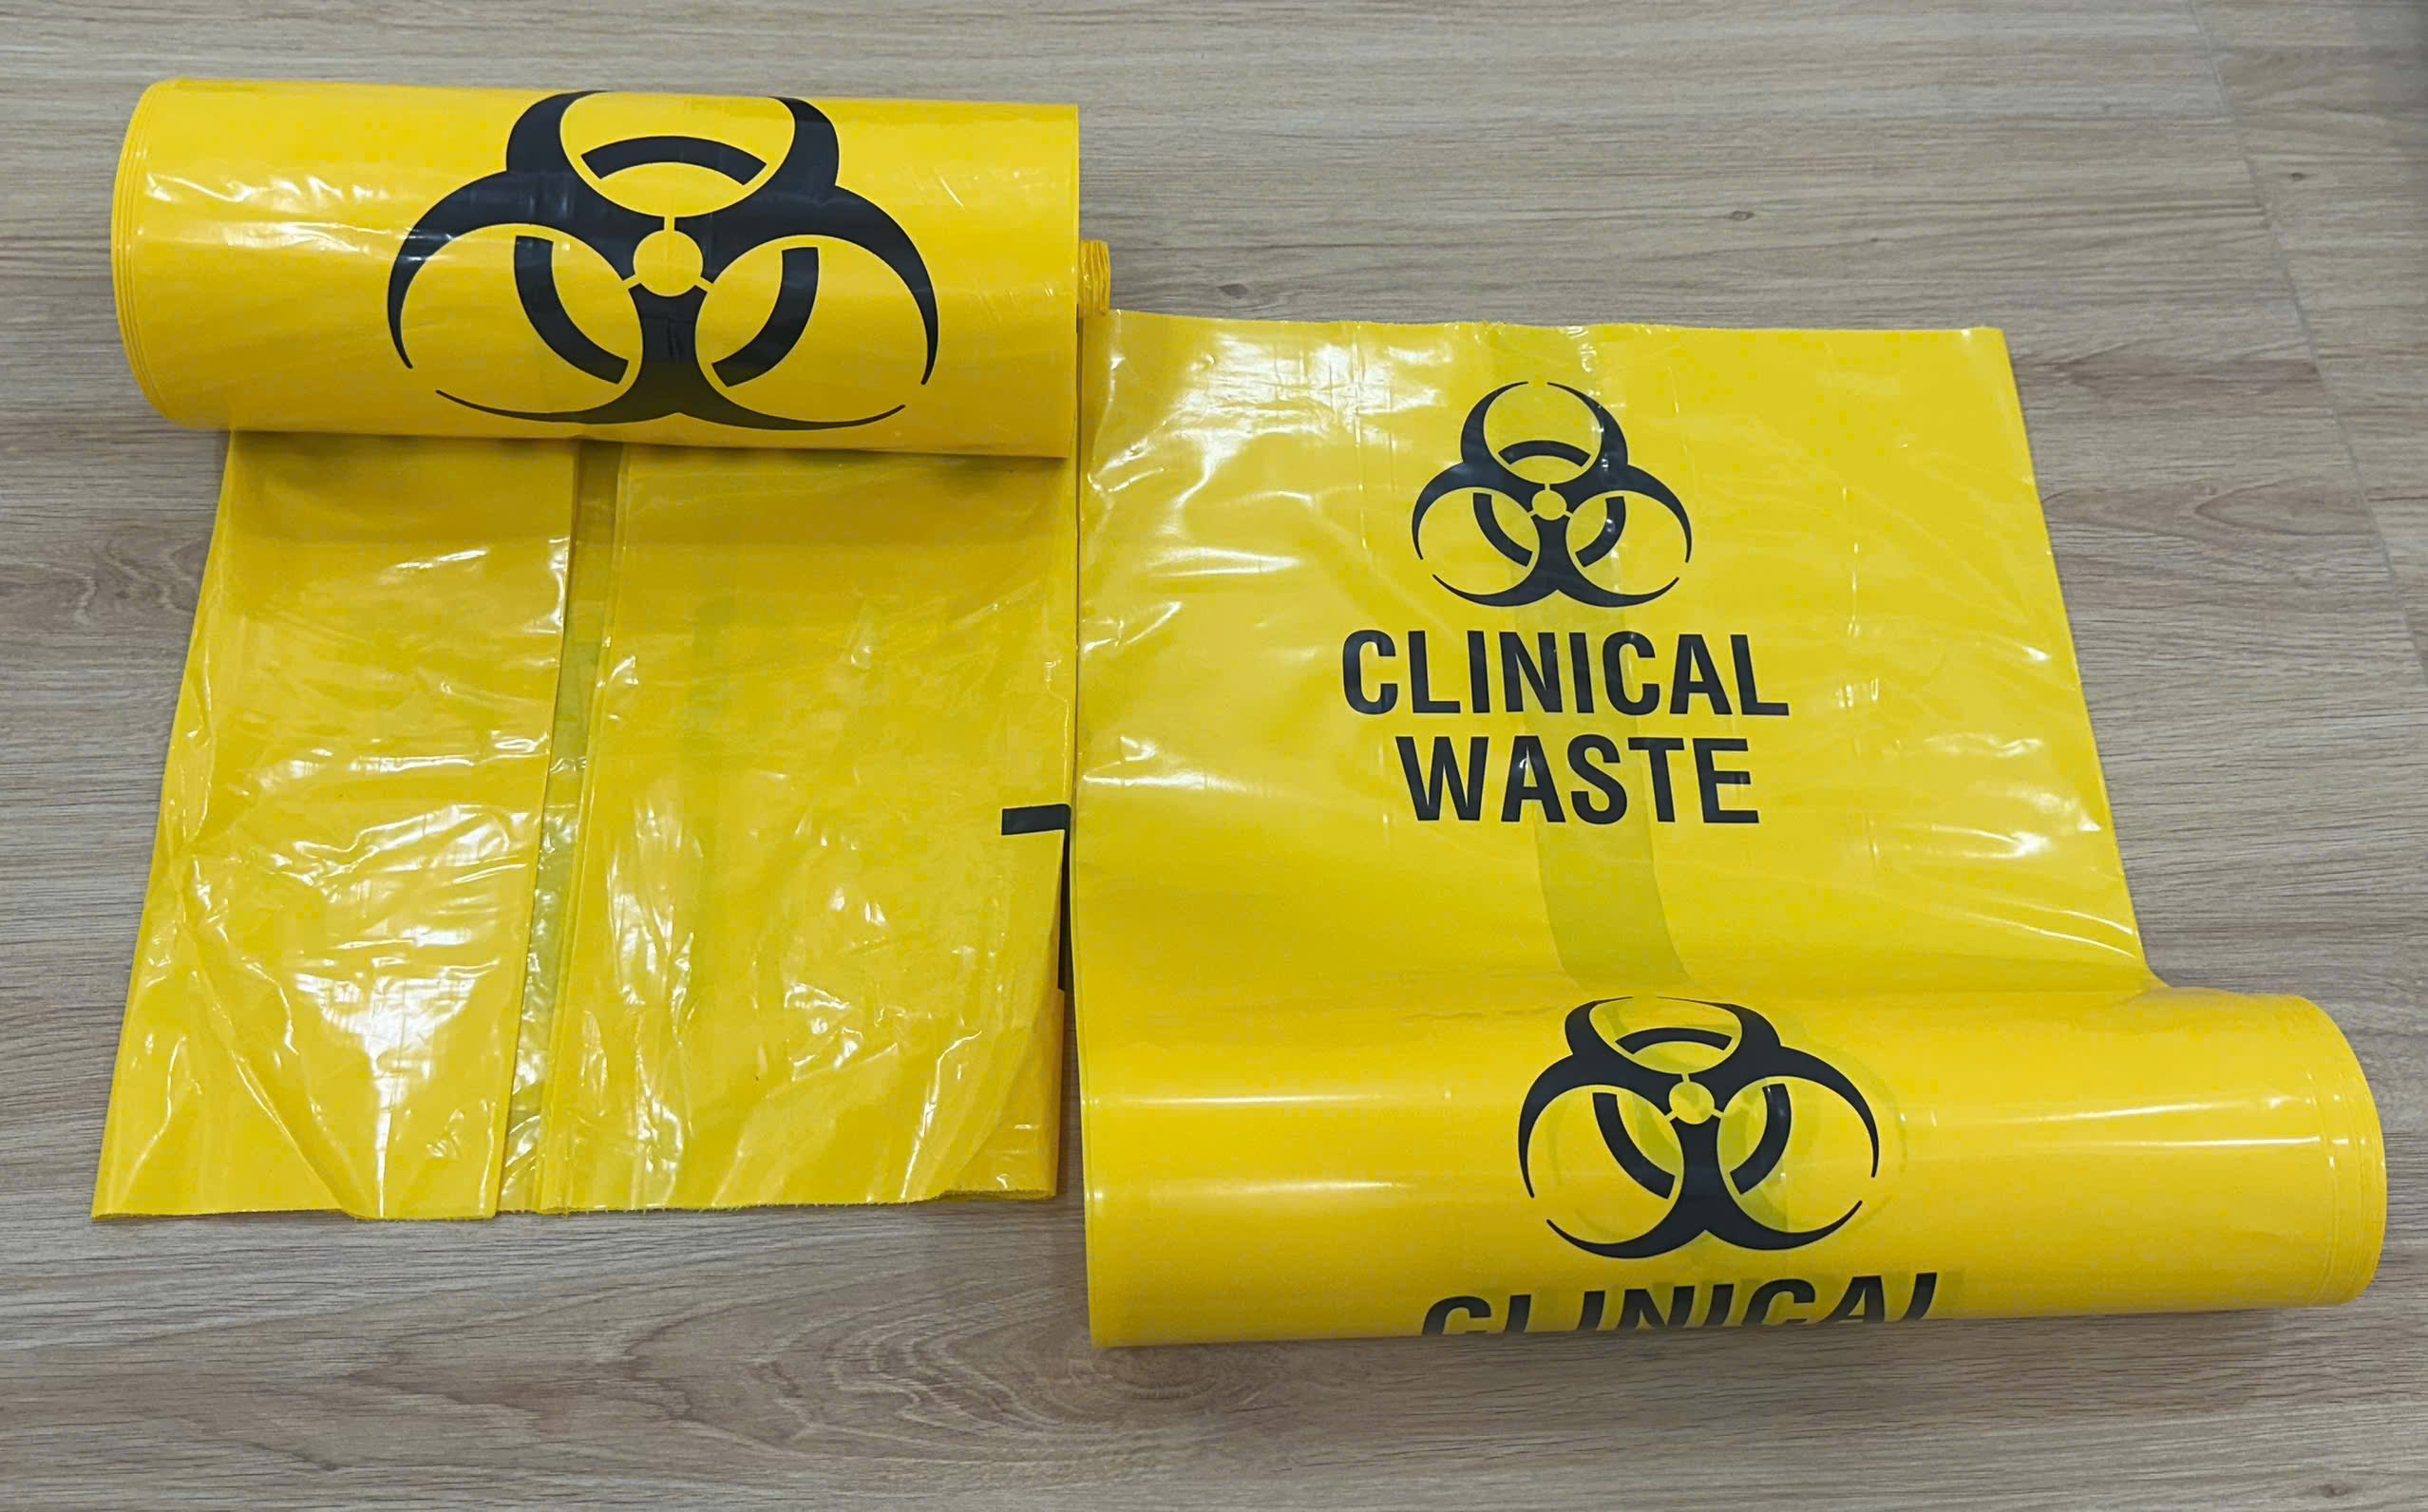
- Embed hazard symbols and handling instructions directly into the header.
- Ensure the header is compatible with flame‑retardant additives if required.
Retail and Branding
- Design a bold header that displays the company logo, tagline, and color palette.
- Consider embossing or spot‑UV coating for a premium feel.
- Use a die‑cut shape that matches the product’s silhouette for visual harmony.
Implementation Checklist
- Define the bag’s purpose and target audience.
- Select the appropriate polymer and header thickness.
- Design the header shape in CAD with tolerances.
- Choose a printing method (flexography, offset, or digital) that matches the header surface.
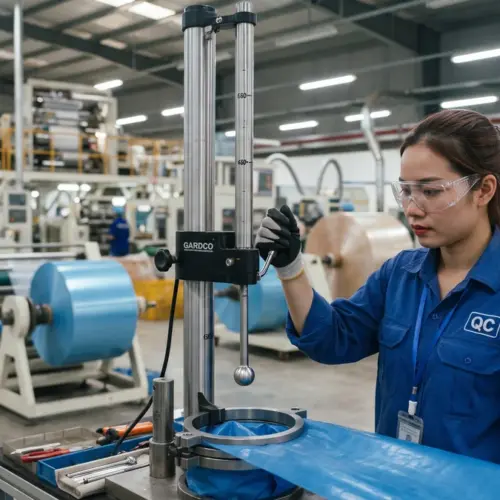
- Validate the header’s structural integrity with a tear test.
- Confirm regulatory compliance for food or hazardous use.
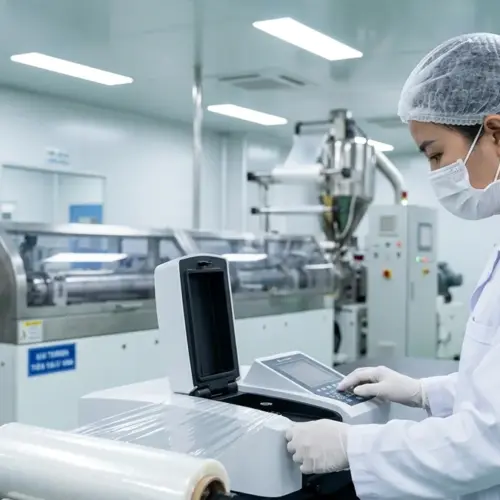
- Run a pilot production to review color fidelity and seam quality.
- Finalize the production run and establish quality control checkpoints.
Comparing Header Block Options
Below is a quick comparison of common header block approaches to help you decide which fits your needs.
- Die Cut – Fast, precise, low cost for high volume. Best for retail and general packaging.
- Hand Stretch Film – Smooth, rounded edges. Ideal for specialty or premium bags.
- Heat Sealed</